Printing multiple pictures on one page sounds a bit complicated, but it’s actually simple once you get the hang of it. You can use your computer’s built-in tools to do this without needing any fancy programs. Whether you’re on Windows or Mac, there are easy steps you can follow to print a bunch of pictures on a single sheet.
In this guide, I’ll walk you through the basic methods to make the process quick and hassle-free.
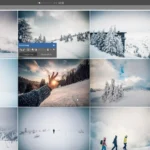
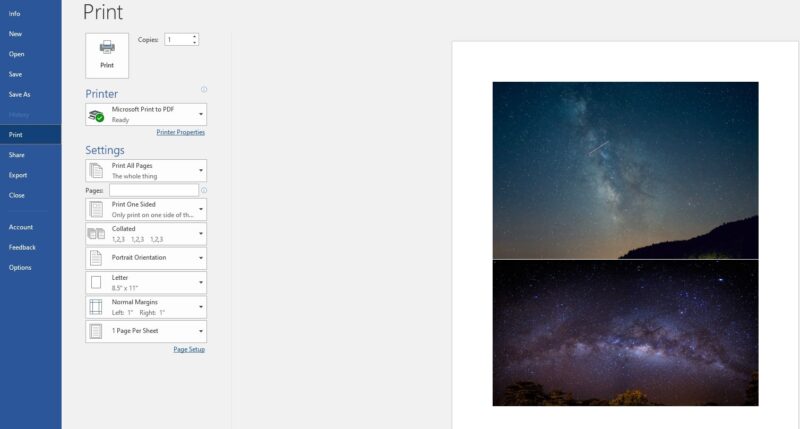
Use Windows Photo Viewer
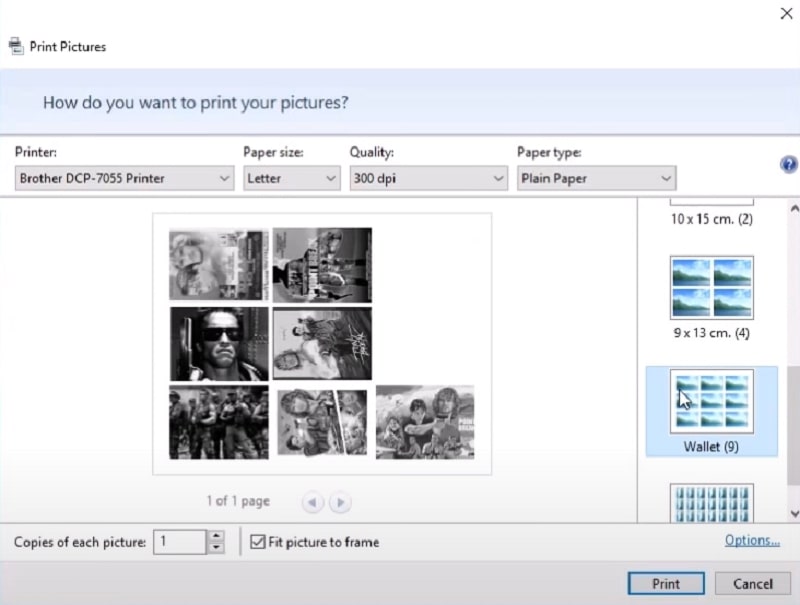
To print multiple pictures on one page in Windows, follow these steps for a quick and simple process:
- Select the Pictures: Open File Explorer and navigate to the folder containing your photos. Hold down the Ctrl key, then click on each picture to select multiple images.
- Right-Click and Choose Print: After selecting the images, right-click on one of them and choose Print from the drop-down menu.
- Choose Layout: In the print dialog, you will see different layout options such as 2×2 or 3×3. Pick the one that fits the number of images you want on a single page.
- Adjust Print Settings:
- Paper Size: Choose your desired paper size (A4, Letter, etc.).
- Print Quality: Set the quality based on your preference (Standard, High, etc.).
- Print the Pictures: Once you’ve set everything up, click Print to finish.
Tips
- Fit to Frame: Enable or disable this option based on how you want the images to be displayed. Disabling it ensures the pictures keep their original aspect ratio.
- Copies: You can increase the number of copies for each picture by adjusting the setting in the print dialog.
Also, check out how to download pictures from your Google Drive.
Print with Paint 3D

If you want more control over how your pictures are arranged, using Paint 3D in Windows is a great option. Here’s how to easily print multiple pictures on one page:
- Open Paint 3D: Search for Paint 3D in the Start menu and open the app.
- Create a New Canvas: Click on New to create a blank canvas. Set the size of the canvas based on the paper you are using (A4, Letter, etc.).
- Insert Pictures: Click on Menu > Insert and browse to select the pictures you want. You’ll need to insert one image at a time.
- Arrange the Pictures: After inserting the pictures, resize and move them around the canvas to fit them as you like. You can position them in any layout you prefer.
- Check Layout: Ensure the pictures are well spaced and nothing is overlapping unless that’s the effect you want.
- Print the Pictures: Once you’re happy with the arrangement, click Menu > Print > 2D Print. Set the print options such as paper size, quality, and orientation, then click Print.
Customize Your Canvas
| Resize an Image | Drag the corners of the image. |
| Move an Image | Click and drag the image. |
| Add More Pictures | Use Insert to add more. |
| Check Print Preview | Use File > Print Preview. |
Tips
- Aspect Ratio: Keep the original aspect ratio by holding the Shift key while resizing the pictures.
- Fit to Page: Ensure your pictures fit within the canvas borders before printing to avoid clipping.
- Background Color: You can change the background color or leave it blank, depending on your preferences.
Open Mac Preview App
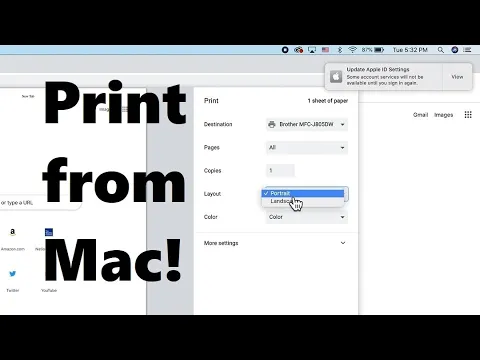
Using the Preview app on Mac is another simple way to print multiple pictures on one page. Follow these steps for an easy printing process:
- Select Images in Finder: Open Finder and navigate to the folder containing your photos. Hold down the Command key and click on each picture you want to print.
- Open with Preview: Right-click the selected images and choose Open With > Preview.
- Go to Print: Once the images are opened in Preview, go to File > Print from the top menu.
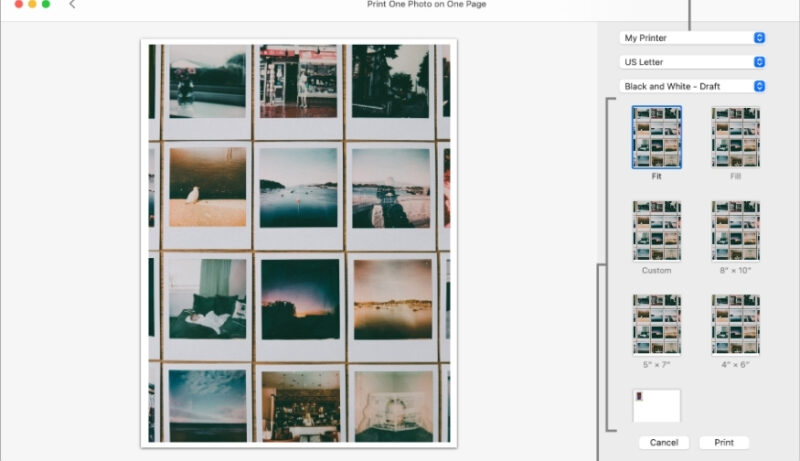
- Choose Contact Sheet Layout: In the print dialog box, select Contact Sheet from the layout options. This allows you to fit multiple images on a single page.
- Adjust Rows and Columns: Customize the number of rows and columns based on how many pictures you want to print per page.
- Print: Once you’re satisfied with the layout, click Print to finish the process.
Layout Customization
| Option | Description |
|---|---|
| Contact Sheet | Arranges images in a grid-like format. |
| Rows and Columns | Adjust the number of images per page. |
| Paper Size | Set the paper size (A4, Letter, etc.). |
Tips
- Drag to Rearrange: You can drag images within the Preview window to reorder them before printing.
- Fit to Page: Ensure that the images fit properly on the page to avoid any cropping.
- Customize Margins: Adjust the margins for more space between images or to fill the page more completely.
Print through Mac Photos App
You can easily print multiple pictures on a single page using the Photos app on your Mac. Here’s how you can do it step-by-step:
- Open Photos: Launch the Photos app and select the images you want to print by holding down the Command key while clicking on the pictures.
- Go to Print: Once you’ve selected the images, go to the top menu and click File > Print.
- Choose a Layout Template: In the print options window, select a layout template that allows you to print multiple images on one page. Options like Contact Sheet or other multi-photo templates will be available.
- Adjust Settings: Customize the number of photos per page by adjusting the number of rows and columns in the template.
- Preview and Print: Check the print preview to ensure everything is aligned, then click Print to finalize the process.
Available Layout Options
| Template Type | Number of Images per Page |
|---|---|
| Contact Sheet | Multiple small images |
| Grid Layout | Customizable rows/columns |
| Custom Layout | Arrange pictures manually |
Tips
- Custom Rows and Columns: You can modify the number of rows and columns to fit as many pictures as you want on the page.
- Aspect Ratio: Make sure to choose an appropriate aspect ratio to avoid images being stretched or cropped.
- Paper Size and Quality: Adjust these options based on your printing needs to get the best result.
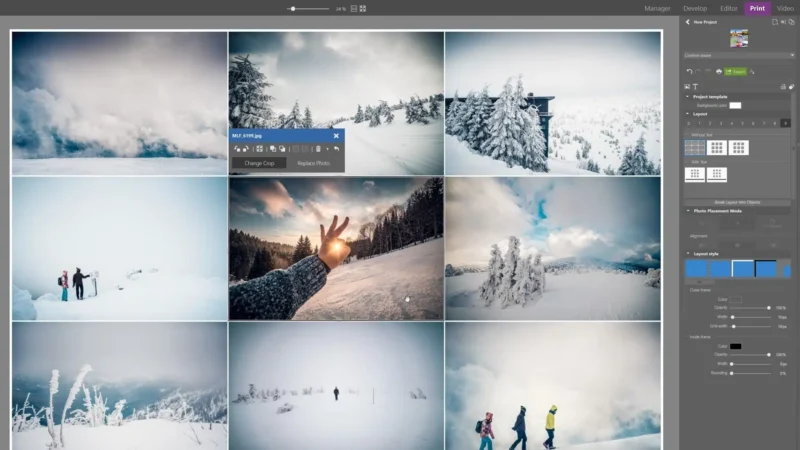
Create a Collage for Multiple Pictures
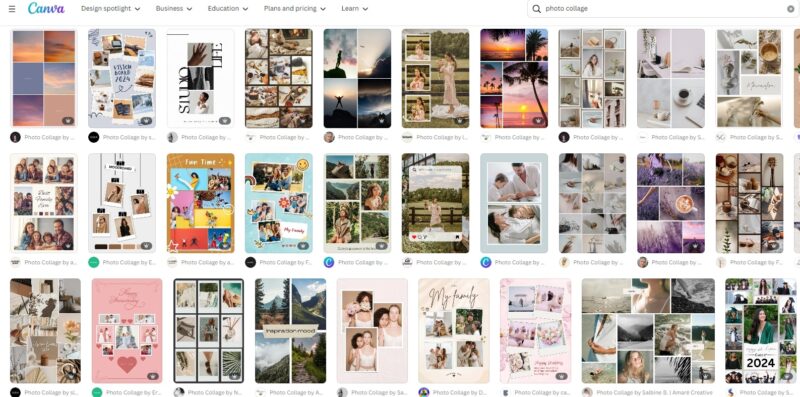
For more creative flexibility, creating a collage is a great way to print multiple pictures on one page. This allows you to manually arrange and customize the layout. Here’s how you can do it:
- Choose a Photo Editing Tool: There are many tools available, such as Canva, Adobe Photoshop, or even basic tools like Microsoft Word. For simplicity, let’s use Canva for this example.
- Open Canva: Go to the Canva website and create a free account if you don’t have one. Once logged in, choose the Photo Collage template.
- Upload Your Pictures: Use the Upload option to select the photos you want to include. Drag and drop them into the collage template.
- Arrange the Photos: Resize and move the pictures around until you’re happy with the layout. You can overlap pictures, add borders, or even add text if you’d like.
- Download and Print: Once the collage looks the way you want, download it as a PDF or image file. Open the file and use your printer to print the collage.
Comparison of Collage Tools
| Tool | Features | Ease of Use |
|---|---|---|
| Canva | Free templates, drag-and-drop interface | Very Easy |
| Photoshop | Full customization, advanced editing | Moderate |
| Microsoft Word | Basic photo layout, simple to use | Easy |
Tips
- Use High-Resolution Photos: This ensures that your pictures don’t look blurry when printed.
- Save in PDF: Saving your collage as a PDF helps maintain the image quality during printing.
- Print Test Page: Before printing the final version, print a test page to check the layout and image quality.
Use Microsoft Word for Printing
Another simple way to print multiple pictures on one page is by using Microsoft Word. This method allows you to customize the layout and adjust the pictures exactly how you want them. Here’s how to do it:
- Open Microsoft Word: Start a new blank document.
- Insert Your Pictures: Go to Insert > Pictures and select the images from your computer. You can insert multiple images at once or one by one.
- Arrange the Pictures: Once the pictures are inserted, resize and move them around to fit the page. You can click and drag the corners to adjust the size or use the alignment options to make sure everything is properly positioned.
- Adjust Margins: Go to Layout > Margins to reduce the margin size, giving you more space to arrange the pictures.
- Print the Document: Once the pictures are arranged, go to File > Print. Select your printer and adjust settings like paper size and quality. Then, click Print.
Tips
- Use Gridlines: Go to View > Gridlines to help align your pictures more precisely.
- Avoid Overlapping: Ensure the images don’t overlap unless you want a layered look.
- Page Orientation: If your images work better horizontally, switch to Landscape orientation under the Layout tab.
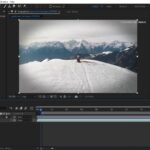
Set up Photoshop for Multiple Images
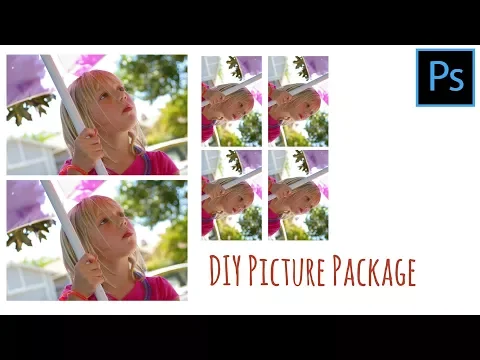
For those who want more control over the quality and layout, Adobe Photoshop is a powerful option to print multiple pictures on one page. Follow these steps for a more professional approach:
- Open Photoshop: Launch Adobe Photoshop and create a new document. Set the dimensions of the canvas according to your paper size (e.g., A4, Letter).
- Insert Images: Use File > Place Embedded to insert each picture onto the canvas. You can also drag and drop images directly from your computer.
- Arrange Pictures: Use the Move Tool to resize and arrange the pictures as needed. You can position them freely on the page, or use guides to align them neatly.
- Adjust Image Settings: Enhance the pictures by adjusting brightness, contrast, or applying filters, if necessary.
- Print the Layout: Once satisfied with the layout, go to File > Print. Select your printer, adjust the print settings (paper size, quality), and click Print to finalize.
Tips
- Use Smart Objects: Convert your images into Smart Objects to maintain quality when resizing.
- Save as PDF: If you want to preserve the quality or send it to a professional printer, save your project as a PDF before printing.
- Use Rulers: Enable Rulers to help with precise placement of the images on the canvas.
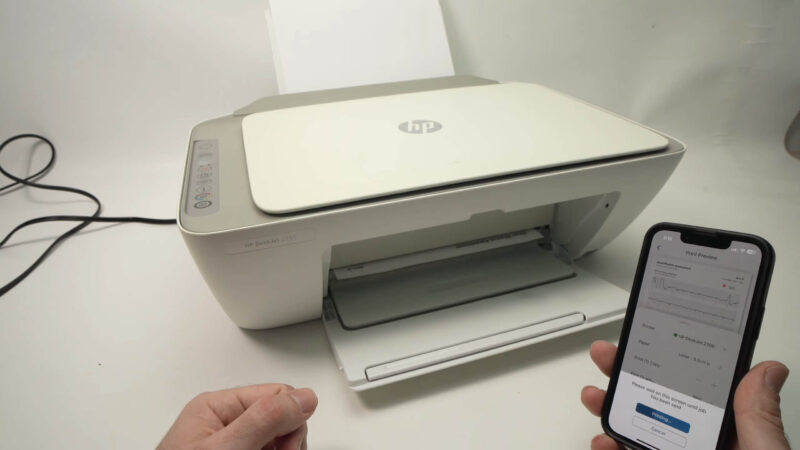
Print Multiple Images from Your Phone
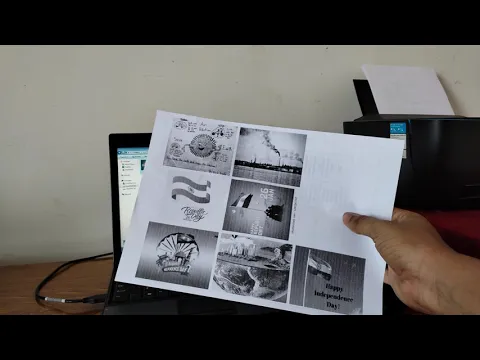
Printing multiple images from a smartphone is possible using various apps designed for both iOS and Android. Here’s how you can easily print multiple pictures on one page from your phone:
- Choose a Printing App: There are several apps available for printing directly from your phone, such as Google Photos, HP Smart, or Canon Print. Download one of these from the app store.
- Select Your Images: Open the app, navigate to your photo gallery, and select the images you want to print. Hold and tap on the images to select multiple pictures.
- Choose Layout Options: In the app’s print settings, you will find layout options. Choose a multi-photo layout, such as 2×2 or 3×3, to fit multiple pictures on a single page.
- Connect to Your Printer: Ensure your phone is connected to a compatible printer via Wi-Fi or Bluetooth. Many printers today offer wireless connections, making this process easier.
- Print the Photos: After selecting the layout and adjusting the print quality, press the Print button to send the images to your printer.
Popular Apps for Mobile Printing
| App | Features | Compatibility |
|---|---|---|
| Google Photos | Basic printing, easy layout selection | iOS/Android |
| HP Smart | Full control over print quality and layout | iOS/Android |
| Canon Print | Great for Canon printers, easy photo layout | iOS/Android |
Tips
- Ensure Printer Compatibility: Not all apps work with every printer, so check your printer’s model and compatibility with the app you’re using.
- High-Resolution Photos: Use high-resolution images to avoid blurry prints.
- Save Ink: Adjust print settings to lower quality if you’re printing for casual purposes, saving ink without sacrificing too much quality.
Apply Tips for Better Printing Results
To make sure your prints come out looking their best, it’s important to pay attention to a few key factors. Here are some practical tips to help you get the highest quality when printing multiple images on a single page:
- Use High-Resolution Images: Ensure your photos are high resolution to avoid pixelation or blurriness. Low-resolution images may look fine on screen but can appear fuzzy when printed.
- Select the Right Paper: Choose high-quality photo paper for better color accuracy and sharpness. Glossy paper works well for vibrant colors, while matte paper can give a more professional, subdued look.
- Adjust Printer Settings: Before printing, check your printer’s settings. Set the print quality to High or Best for the clearest results. Also, choose the correct paper type in the settings to match the paper you’re using.
- Check Print Layout: Always review the print preview before printing. Make sure the images are properly aligned, and there is no cropping of important parts of the pictures.
- Optimize Ink Usage: If you’re printing a large number of images and want to conserve ink, consider using a lower-quality setting for casual prints. For high-quality prints, use the best settings but be mindful that this will use more ink.
FAQs
How do I print the same picture multiple times on one page?
To print the same picture multiple times on one page, select the photo, right-click, and choose Print. In the print dialog, select the layout (like 2×2 for four copies or 3×3 for nine copies). Adjust the number of Copies in the bottom left corner to match the number of images you want.
What paper type should I use for the best photo prints?
For the best results, use glossy photo paper if you want vibrant colors and sharp images. If you prefer a more professional and matte finish, choose matte photo paper. Always make sure your printer settings match the paper type.
Can I print multiple pictures on one page using my phone?
Yes, you can print multiple pictures on one page from your phone using apps like Google Photos, HP Smart, or Canon Print. Select your images, choose a multi-photo layout, and connect to a wireless printer.
How do I align pictures perfectly when printing?
To align pictures perfectly, use gridlines or guides in software like Photoshop or Microsoft Word. These tools help ensure that all images are spaced evenly and aligned correctly before printing.
Why do my photos come out blurry when printed?
Your photos may come out blurry if they have a low resolution. Make sure your images have at least 300 DPI (dots per inch) to ensure clarity when printed. Also, check your printer settings to make sure the quality is set to high.
Last Words
Printing multiple pictures on one page doesn’t have to be complicated. Whether you’re using Windows, Mac, or even a smartphone, there are plenty of simple methods available to help you get the job done. From using built-in tools like Photo Viewer and Preview, to more customizable options like Paint 3D, Photoshop, or collage apps, you have a variety of ways to arrange and print your photos just the way you want.